
This article is obsolete, and the pfSense template mentioned in it is no longer available. Check what templates are currently available on Exoscale.
Open Source Security with pfSense.
The network firewall distribution pfSense, based on FreeBSD, is now available as an instance template to use on Exoscale. Here is a quick cheatsheet on how to use pfSense with Exoscale. Continue reading for a more detailed explanation.
- Deploy the pfSense template when creating a new instance.
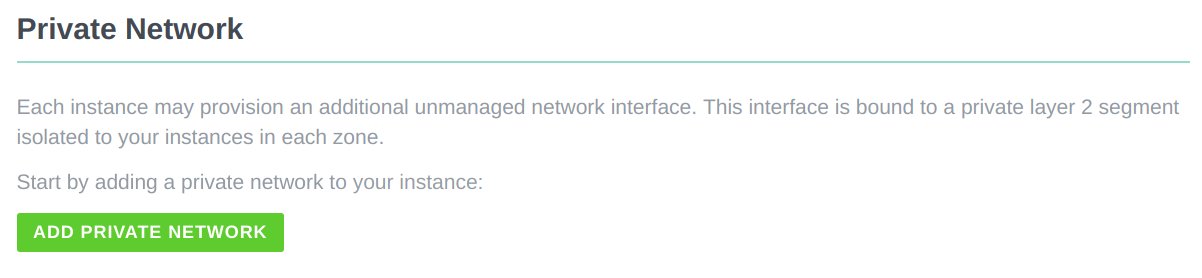
- Add the privnet interface.
- Open the console and proceed with the interface assignment wizard.
- pfSense is operational.
How To Use pfSense with Exoscale
As described in the quick cheatsheet, you first create a new instance and deploy the pfSense template.

Then you add a private network to it.
After instantiating the private network, you open the console from the Exoscale portal by clicking on the Open Console button on the top right of the instance interface. This opens a pop-up window with the network interface assignment wizard.
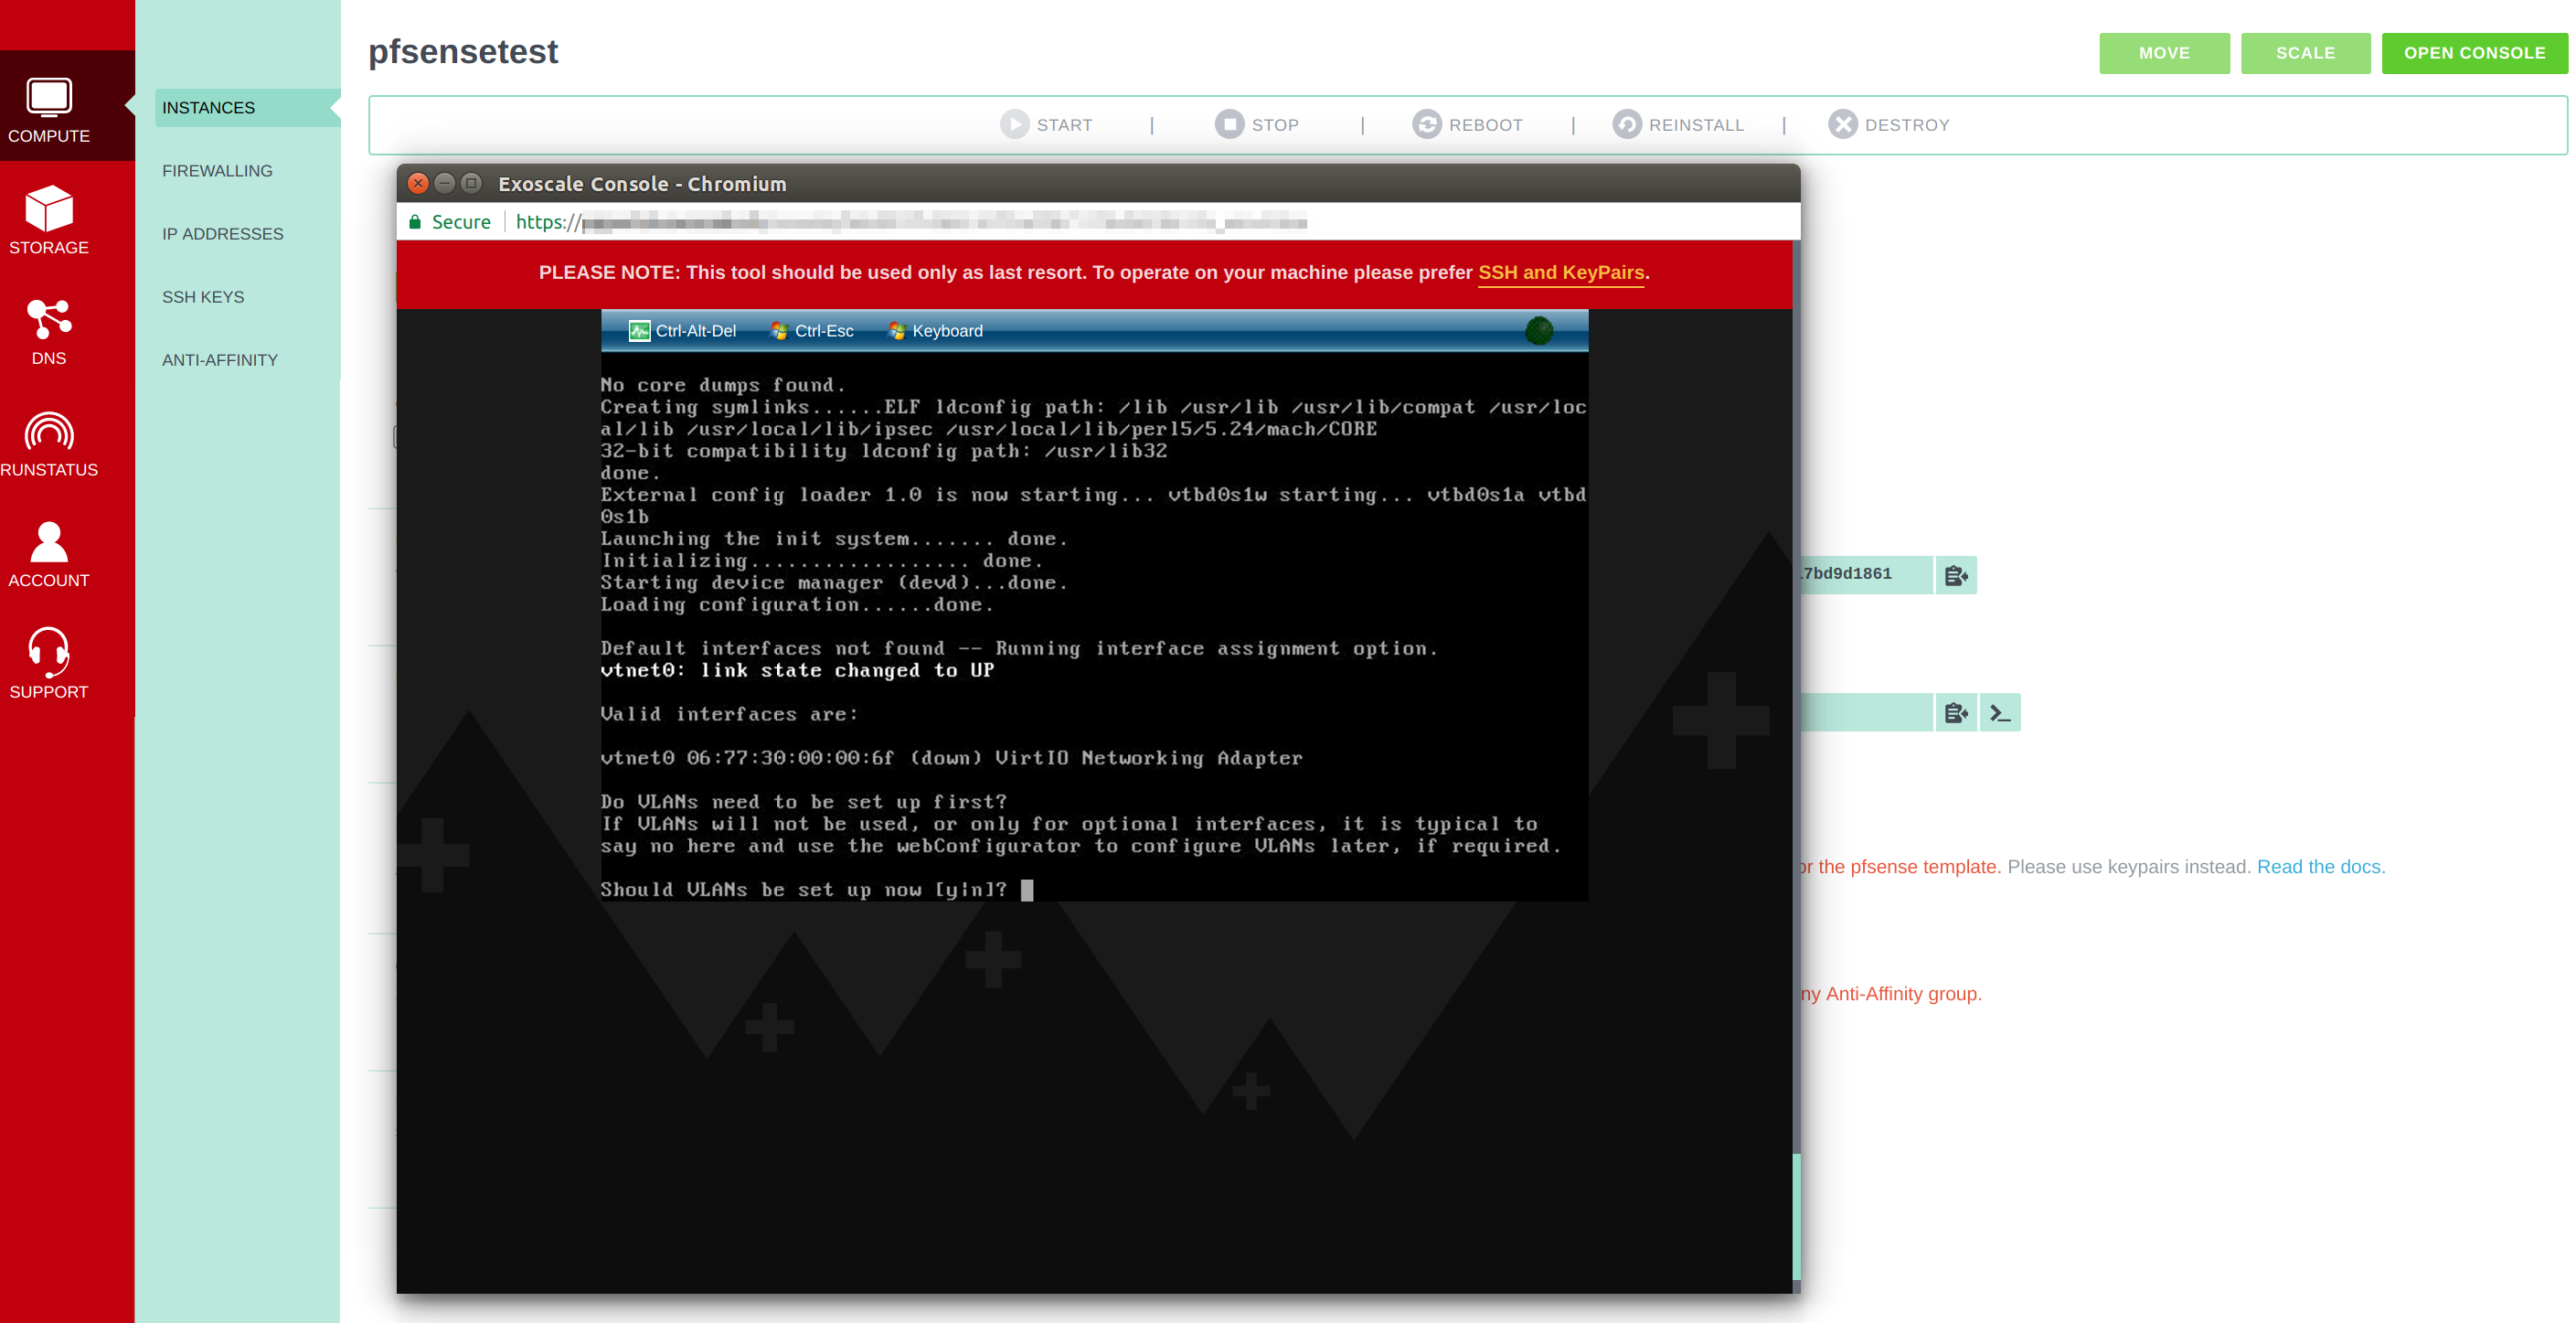
You will be asked whether you want to set up a VLAN - you do not need that for your initial setup, so you can just skip it by typing n.

After that, you will be asked which WAN interface you want to assign pfSense to - you proceed with the interface vtnet0.

The next input requires a LAN interface, which would be vtnet1.
Tip: The vtnet1 interface may not show up here, if the private network has been added too late in the initial boot process. In that case, simply hit the Ctrl-Alt-Del to restart the instance.

Next, pfSense will show you the assignments to each interface.
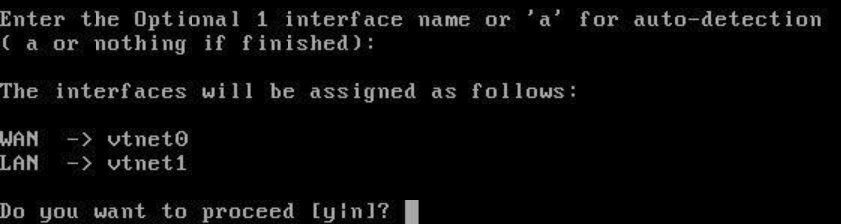
With the wizard now complete, pfSense is operational.

From here, you can use the pfSense firewall according to your use cases. One example use case could be to set up a web server on two machines that both do not have a public IP but communicate with a machine that runs with the pfSense template and routes traffic to one of the two other machines.
Manage pfSense
Default credentials are set to the following:
username: admin
password: pfsense
As pfSense is a firewall and secured by default, you cannot manage it externally. Two possible workarounds include:
- Using a Linux instance as a bastion. For a tutorial on how to create a bastion, refer to our article Secure your Cloud Computing Architecture with a Bastion. Your bastion must have a private network configured on the
192.168.1.0/24subnet. It needs to be used with an SSH tunnel to port443of the default pfSense IP192.168.1.1/24. - Spawning or using a Windows instance with a privnet interface configured on the
192.168.1.0/24subnet. Point Internet Explorer to the default privnet IP of pfSense192.168.1.1/24.
Don’t forget to change the default password.
After You’ve Tightened Security with pfSense
- EIP is supported using the IP alias option.
- To put additional instances behind pfSense, their default gateway must be switched to the pfSense privnet IP and ideally their main public IP interface disabled. Keep in mind that doing so will disable the password recovery feature.
For tutorials on using pfSense, check out the official documentation.