
With private networks just released on Exoscale, there are now more options to implement secure access to Exoscale cloud infrastructure. While we still recommend the bastion approach, as detailed in this article, there are applications or systems which do not lend themselves well to working this way.
In these cases, the next best thing is building IPsec gateways. IPsec is a protocol which works directly at layer 3. It uses its configuration to determine which network flows should be sent encrypted on the wire. Once IPsec is correctly configured, selected network flows are transparently encrypted and applications do not need to modify anything to benefit from secured traffic.
To complicate matters a bit, IPsec may work under one of three modes:
- Host to Host
- Host to Network
- Network to Network
For the purposes of this article we will work under the following assumptions:
- We want a host to network setup, providing access to cloud-hosted infrastructure from a desktop environment.
- Only stock tooling should be used on desktop environment, no additional VPN client should be needed.
Let’s assume our test infrastructure looks like this:
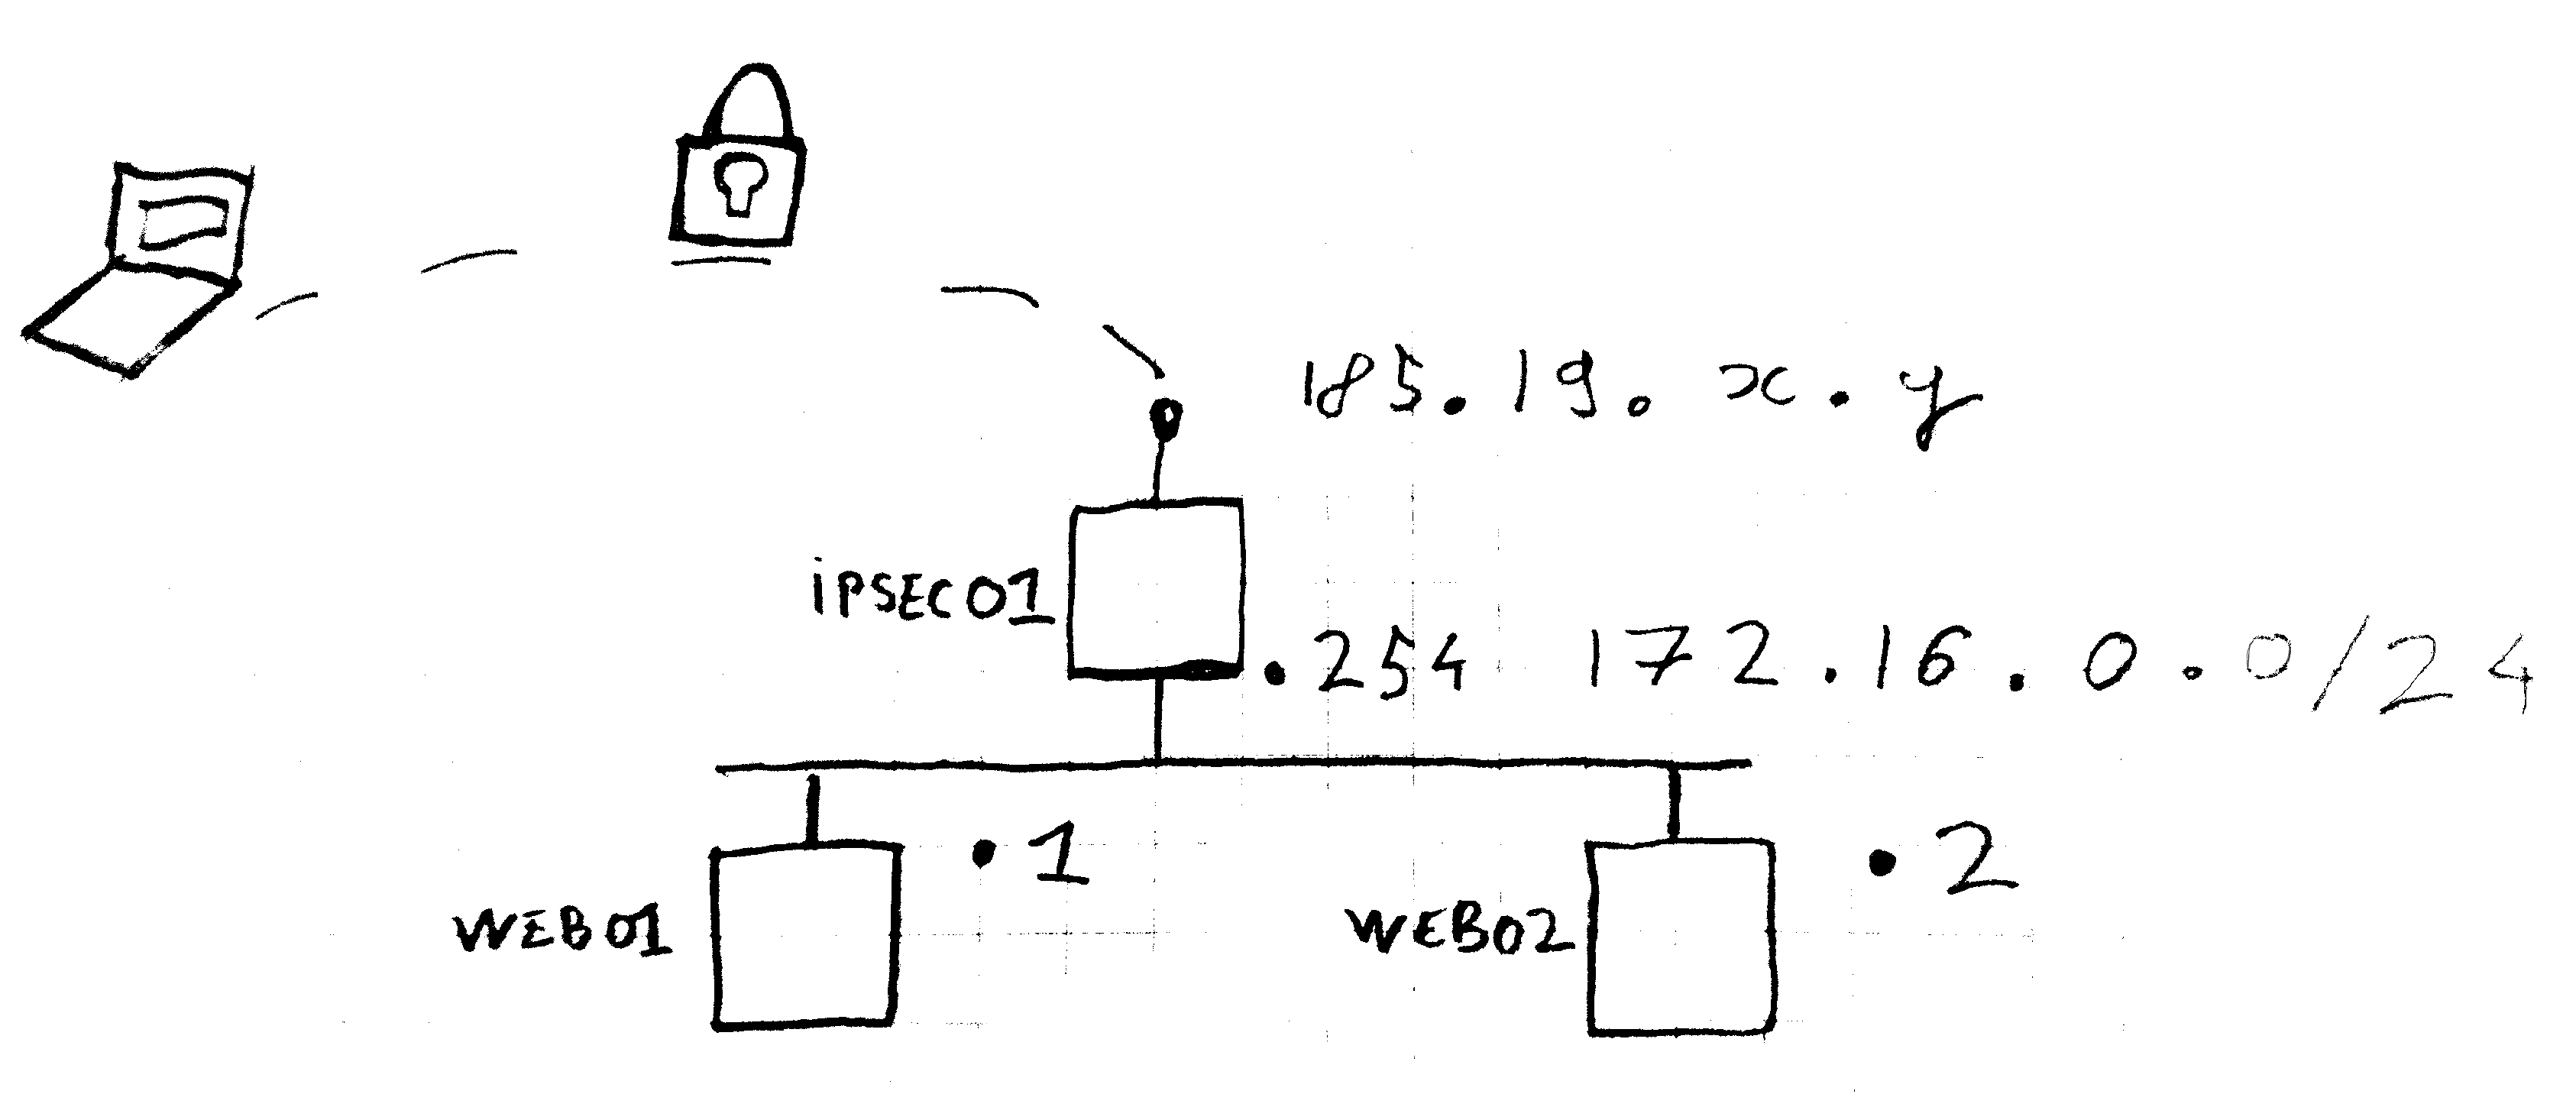
We will need to perform the following tasks to get to the point where IPsec is configured:
- Configuring our two linux hosts
- Configure the OpenBSD host
- Configure the client, assuming it’s an Apple laptop
In this case, to ensure no additional software is needed on the client, we will configure an L2TP/IPsec gateway. This article will use OpenBSD as the operating system to implement the gateway. While this choice may sound surprising, OpenBSD excels at building gateways of all sorts thanks to its simple configuration formats and inclusion of all necessary software and documentation to do so in the base system. The OpenBSD website contains additional information.
L2TP/IPsec is a mode which creates PPP connections - just like modems used to, in the old days - over IPsec. This provides a standard mechanism for supplying credentials, while keeping the connection secure.
Creating machines
For the purposes of this article, we will use three Exoscale machines:
ipsec01as the gatewayweb01as the first Linux hostweb02as the second Linux host
Security Group configuration
We’ll use three security groups:
defaultwill only allow inbound SSHwebwill allow TCP ports 80 and 443 forweb01andweb02.ipsecshould allow ESP protocol as well as UDP ports 500 and 4500 foripsec01.
Configuring private networks on all hosts
Once all three machines are created and a private network has been created on all of them, we can configure the additional interface, as detailed in our documentation.
On web01:
# cat <<EOF>/etc/network/interfaces.d/01-privnet.cfg
auto ens7
iface ens7 inet static
  address 172.16.0.1/24
EOF
# ifup ens7
On web02:
# cat <<EOF>/etc/network/interfaces.d/01-privnet.cfg
auto ens7
iface ens7 inet static
  address 172.16.0.2/24
EOF
# ifup ens7
On ipsec01:
The machine should be rebooted once for the new interface to show up.
echo 'inet 172.16.0.254/24' > /etc/hostname.vio1
sh /etc/netstart vio1
Once this configuration is done, let’s verify that it is working
properly. From ipsec01, it should be possible to ping both
172.16.0.1 and 172.16.0.2.
# ping -c 5 -n 172.16.0.1
PING 172.16.0.1 (172.16.0.1): 56 data bytes
64 bytes from 172.16.0.1: icmp_seq=0 ttl=64 time=0.345 ms
64 bytes from 172.16.0.1: icmp_seq=1 ttl=64 time=0.358 ms
64 bytes from 172.16.0.1: icmp_seq=2 ttl=64 time=0.305 ms
64 bytes from 172.16.0.1: icmp_seq=3 ttl=64 time=0.292 ms
64 bytes from 172.16.0.1: icmp_seq=4 ttl=64 time=0.362 ms

--- 172.16.0.1 ping statistics ---
5 packets transmitted, 5 packets received, 0.0% packet loss
round-trip min/avg/max/std-dev = 0.292/0.332/0.362/0.028 ms
Provided an SSH agent is forwarded, it should also be possible
to ssh to 172.16.0.1 and 172.16.0.2.
Configuring the IPsec gateway
On the OpenBSD host, all necessary software is already installed. We
will configure the system, as well as pf, npppd, and ipsec.
First, let’s configure a few system controls:
cat <<EOF>/etc/sysctl.conf
net.inet.ip.forwarding=1
net.inet.gre.allow=1
net.pipex.enable=1
EOF
Here we allow IP forwarding, since our gateway is going to be a router, then we allow the GRE protocol, and we enable PPP kernel extensions for performance reasons.
Configuring L2TP
The daemon which provides L2TP functionality in OpenBSD is npppd,
the only configuration needed is to provision the credentials file in
/etc/npppd/npppd-users. Here we will create a single user in this
file:
client1:\
    :password=client1-safe-password:
By default, the configuration for the daemon in
/etc/npppd/npppd.conf provides clients with addresses in the
10.0.0.0/24 network. We can leave that as is.
Configuring IPsec
To configure IPsec, we only need a single flow, which can be added in
/etc/ipsec.conf ($public_gateway_ip must be replaced with the instance’s
IP address):
ike passive esp tunnel from $public_gateway_ip to any \
    main group "modp1024" quick group "modp1024"      \
    psk "my-tunnel-is-private"
The file permissions should be restricted to root only:
# chmod 600 /etc/ipsec.conf
This setup uses a pre-shared secret for tunnels, and forces ciphers to be compatible with most VPN clients.
Configuring NAT
To allow the router traffic to reach both internal machines and the internet we need to translate source addresses when they go out of the gateway.
We need two different translations:
- When internal traffic goes out of the public interface, its source should be translated to the public IP.
- When internal traffic goes out to the private network, its source should be translated to the gateway’s private IP.
To ensure this happens, we will need two additional lines in the
default /etc/pf.conf configuration:
set skip on lo

match out from 10.0.0.0/24 to (vio1:network) nat-to (vio1) ## NAT public traffic
match out from 10.0.0.0/24 nat-to (vio0)                   ## NAT private network traffic
block return    # block stateless traffic
pass            # establish keep-state
Enabling new services
To finalize this configuration we will ensure everything is started properly by configuring startup services:
rcctl enable ipsec isakmpd npppd
rcctl set isakmpd flags -K
For good measure, the system should now be restarted with reboot.
Configuring a MacOS client.
Now that the infrastructure is correctly in place on the backend, we may configure a client for it. Here we show the necessary steps on Apple’s MacOS, but similar steps can be taken for any L2TP/IPsec client, as can be found on most systems, mobile phones included.
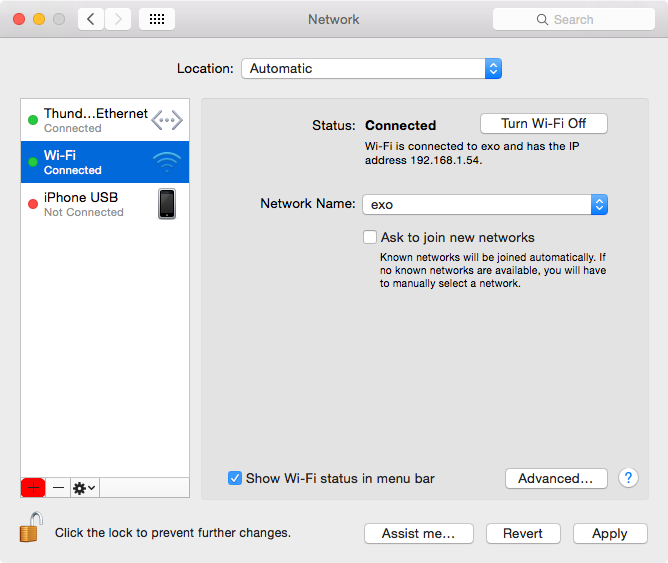
In the system preference panel, select Network and prepare to add a new one:
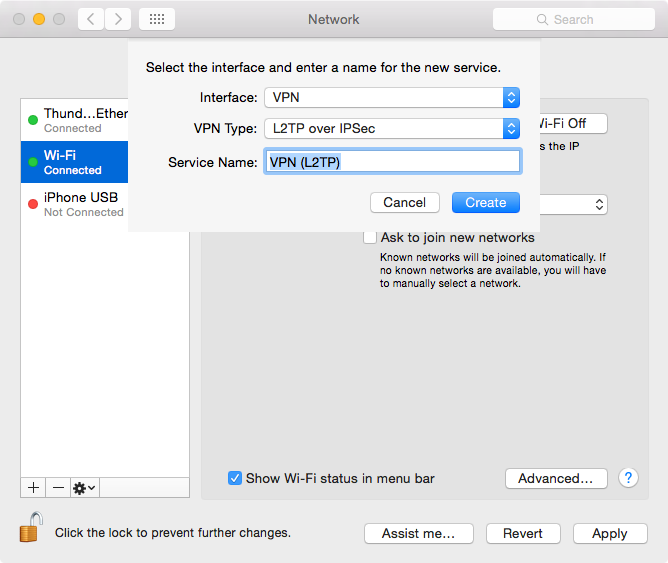
Select VPN as the interface and L2TP over IPsec as the type.
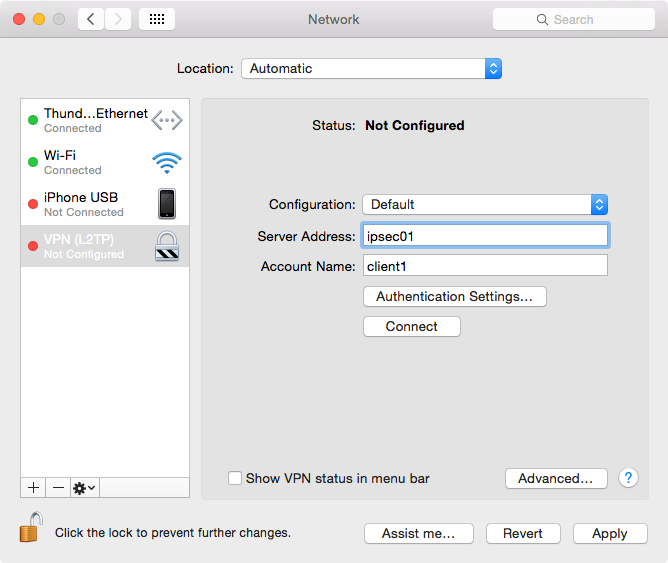
In the configuration, use the gateway’s IP as the server address and
the user created in /etc/npppd/npppd-users as the Account Name:
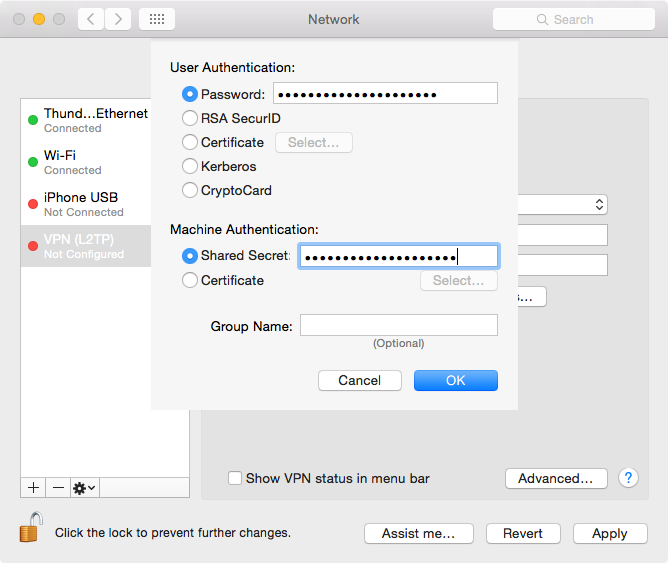
Open the Authentication Settings modal and use the password added
to /etc/npppd/npppd-users as the user Password, and the one
added to /etc/ipsec.conf in the Shared Secret field.
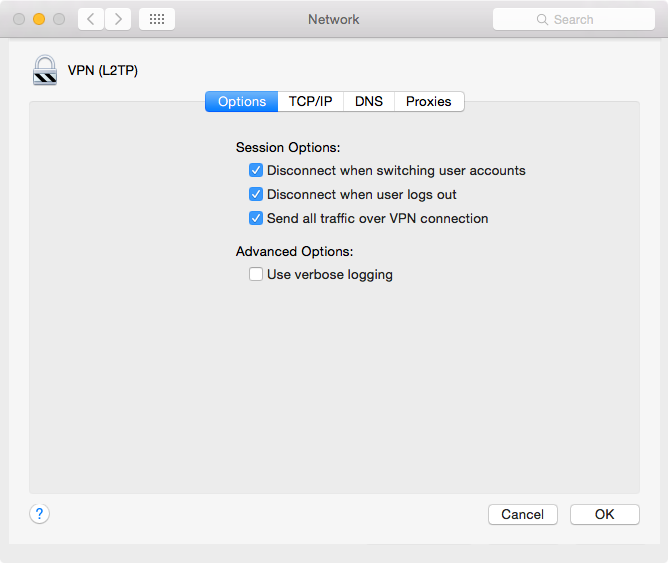
Instead of selecting specific routes, the option to send all traffic over the VPN connection may be selected in the Advanced modal:
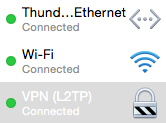
Once all this is configured, it should be possible to connect to this new connection:
To check that everything is functional, browsing the internet should
be possible, as well as reaching both 172.16.0.1 and 172.16.0.2,
the private addresses of web01 and web02.